Scan-Based Registration in Trimble RealWorks
Welcome back for another Scanning Tip of the Week. This time we will continue our new project workflow following last week’s Import and Station Sampling article. The next step in our journey is Scan-Based Registration in Trimble® RealWorks.®
Trimble RealWorks offers two branches of scan registration choices. Scan-Based Registration features targetless alignment methods while Target-Based Registration uses spherical or flat targets that need to be observed during the station scans. This article will focus on the targetless approach while a future one will address the target-based option.
This article will assume your project has already been imported and sampled. If you need assistance with importing and sampling, check out this Tip of the Week.
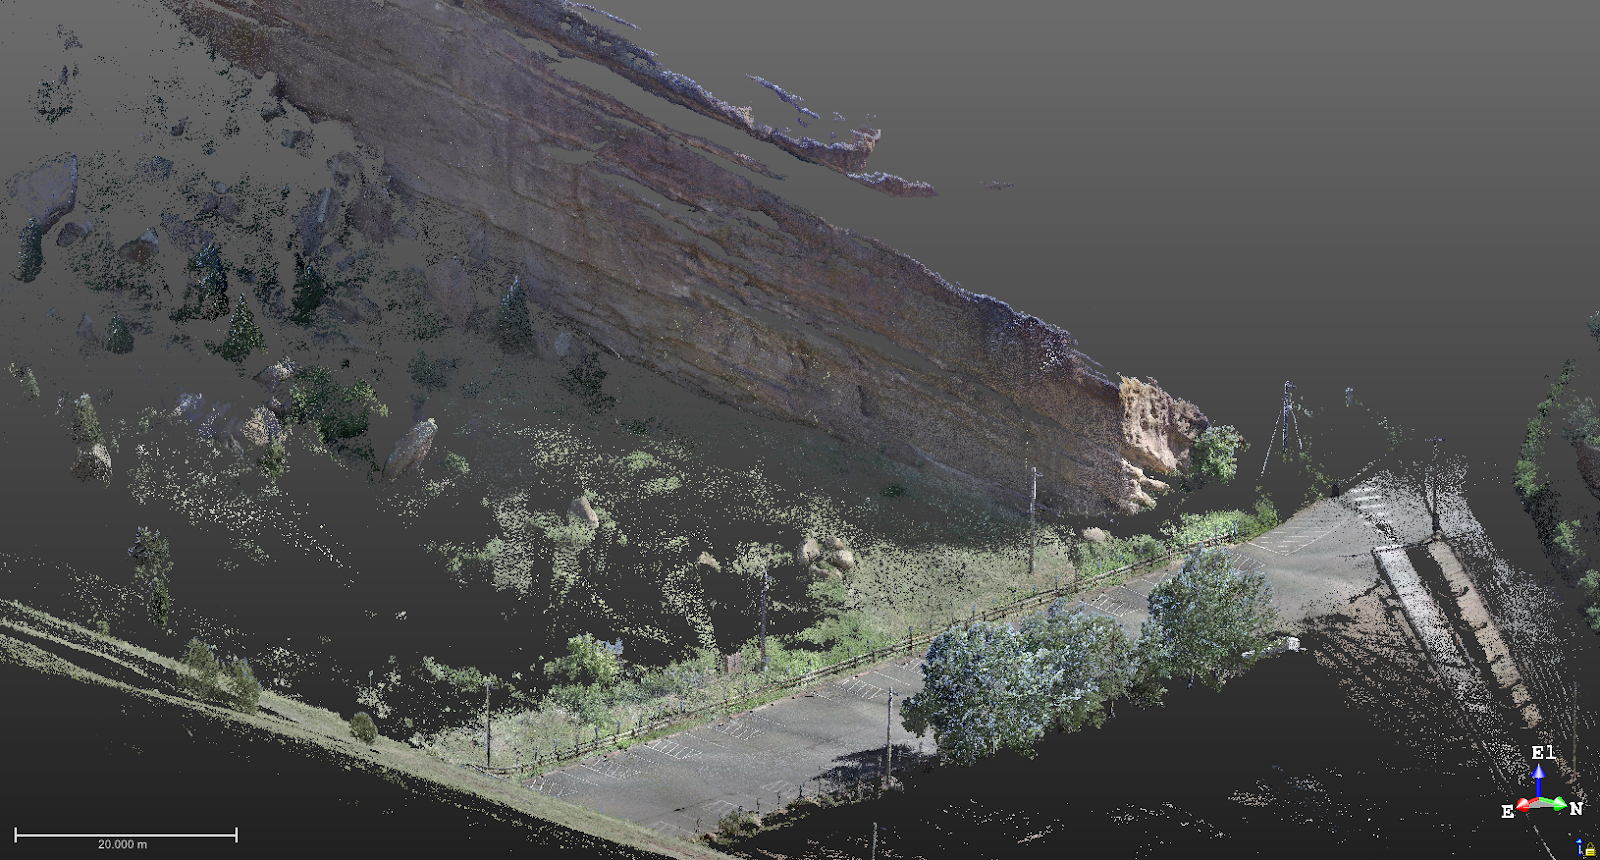
The first example, shown below, is an unregistered project that will be used to show the process for automatic registration.
First, select the project or project folder from the upper WorkSpace window. Next, go to the Registration tab of the ribbon and select the Auto-Register using Planes tool.
A pop-up window will appear displaying all station scans within the project or folder selected. The process will require a reference station to be selected and gives the option to select or deselect stations from being adjusted. Press the Start button to begin the registration computation. Note: Blue icons beside station names denote leveled stations, while yellow denote unleveled stations. Use a leveled station as your reference station if available. If you did not create sampled scans prior to this step, select the Generate a Preview Scan option to create them now.
Once the registration process is complete, a Registration Report will be generated displaying the Errors, Overlap, and Confidence of the registration results. You can save the report as an RTF document or Close the window. Note: The registration report can be accessed again later if you do not save it now.
The project is now registered and ready for the next step of your workflow.
Another registration option is to use the Cloud-Based Registration tool. This option may be better suited for projects with less overlap or fewer flat surfaces such as the example below.
To access the tool, click the Cloud-Based Registration icon on the Registration tab of the ribbon.
This will open a new view of your project with two smaller windows showing the reference scan on the left and the moving scan on the right. A third window on the bottom shows the alignment of the two scans. You can change the reference and moving scans by using the dropdown menus.
From this tool, two registration options are available. The first is to use the registration tools within the Step 2 - Register section of the cloud-based registration tool. These include the Automatic (magic wand), Pan, Rotate, and Center Location tools. The latter three tools apply to the moving cloud, giving you the ability to manually align the clouds.
When the clouds are closely aligned, you can select the Refine button to find a best fit between the two scans, then confirm the registration alignment using the Registration Visual Check tool. When satisfied, click Apply to group the two scans and keep the alignment changes for the moving station.
The other registration option within this tool is to use Pairwise matching between the reference and moving clouds. To do this, select common points between the two scans and the registration computation will automatically be performed. Select Apply to make the alignment permanent.
After clicking Apply, the two stations will be grouped into a folder.
Continue registering your project until all scans are included in one group.
For the final step, all scans within the registration group can be refined together. To access this, select the Refine Registration using Scans tool on the Registration tab of the ribbon. Note: The refine registration tool does not apply refinement to sub-groups. Groups within the main registration group will be treated as a single entity. To refine all scans, ensure all stations are contained within the main registration group with no additional sub-groups remaining.
Similar to the automatic registration tool, a reference station is determined and the included scans can be selected or deselected. Note: It is recommended to select a centrally located station for the reference cloud as it likely has overlap with numerous scans.
A registration report will be generated as before.
If you wish to access this report at a later time, use the Registration Report (Scan-Based) icon on the Registration tab of the ribbon.
Before moving onto the next steps of your scanning workflow, take the time to visually inspect your project to ensure your registration quality. Tools such as the Magnifier can be useful for this final inspection. Until next week, keep on scanning.
Learn more about Trimble RealWorks